
 1209
1209
It is highly recommend to download the Autodesk Desktop Connector to access project files that are in BIM360 for anyone using a laptop or desktop device.
The Desktop Connector will create a mapped drive on the device which will be labeled “Autodesk Docs”. Once in this drive, the folder path will be an exact replica of the folder path on the browser and app for BIM360.
All file types will open using the application, rather than the web viewer, which will make the user experience/input much smoother and easier.
Issues related to file size limitation, zooming problems, and excel formula limitations will all be resolved by moving to the desktop connector.
Once you click the link above the desktop connector will start downloading. When the download finishes click the file to begin the installation. Once the installation is complete, it is recommended to restart the device and allowing the start up protocol to run through.
If Autodesk does not prompt the user to log in, you may have to log in manually. If this happens, left click the carrot icon on the bottom right corner of the windows taskbar, and right click the Autodesk icon and log in. The third image below shows where you can find this.
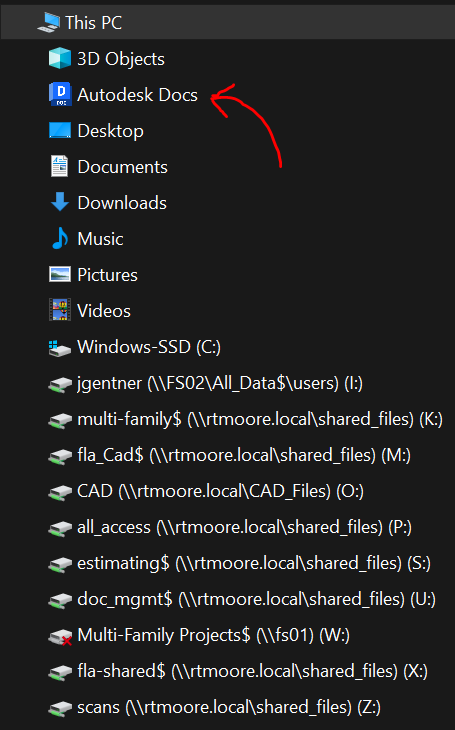
Once the install is completed and you are signed in to the desktop connector, you will see the "Autodesk Docs" in the computer file explorer. ![]()
If you are not prompted to login to desktop conenctor you will need to manually sign in. If this happens, left click the carrot icon on the bottom right corner of the windows taskbar, and right click the Autodesk icon and log in.


